Make-it project · The Hammer That Waited
Make it: a pencil tray, with a wait test
A three-piece tray (one base, two sides, two joints) and a wait test on scrap. With a grown-up for the whole project.
Ages 6 to 8 · 2 pages · free for personal and classroom use, not for resale
Download PDF, A4Download PDF, US Letter
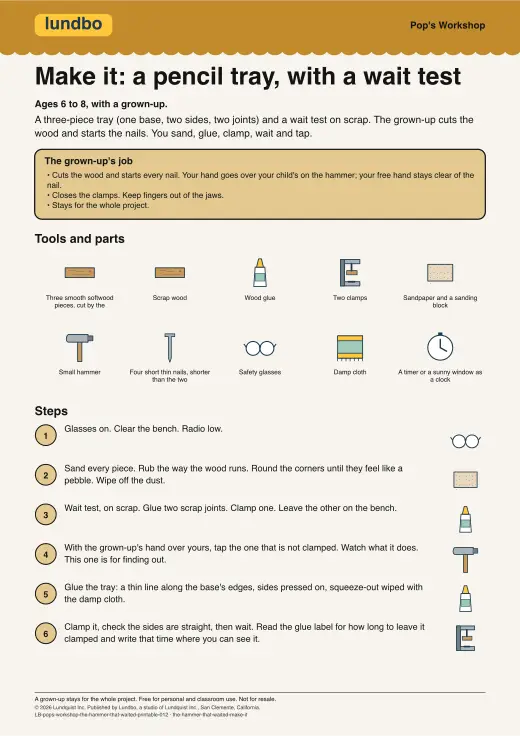
You need
- Three smooth softwood pieces, cut by the grown-up
- Scrap wood
- Wood glue
- Two clamps
- Sandpaper and a sanding block
- Small hammer
- Four short thin nails, shorter than the two pieces are thick together
- Safety glasses
- Damp cloth
- A timer or a sunny window as a clock
Steps
- Glasses on. Clear the bench. Radio low.
- Sand every piece. Rub the way the wood runs. Round the corners until they feel like a pebble. Wipe off the dust.
- Wait test, on scrap. Glue two scrap joints. Clamp one. Leave the other on the bench.
- With the grown-up's hand over yours, tap the one that is not clamped. Watch what it does. This one is for finding out.
- Glue the tray: a thin line along the base's edges, sides pressed on, squeeze-out wiped with the damp cloth.
- Clamp it, check the sides are straight, then wait. Read the glue label for how long to leave it clamped and write that time where you can see it.
- When time is up, take the clamps off. The grown-up starts four nails, two on each side, holding each with pliers or a clothespin so small fingers stay clear.
- You tap each nail in, the grown-up's hand over yours. Fill the tray with pencils. Does it hold? If not, that is what scrap is for. Glue again and wait longer.
A grown-up stays for the whole project. Read the safety notes on the sheet before you start.
Sources
Story VIN LB-pops-workshop-the-hammer-that-waited-printable-012. Printables licence. All printables.